So today I am going to show you how I made this really fun card using the Craftwork Cards Bohemian Dreams kit for The Fruit Pixie who I design for.

These rosettes are very easy to make and you can make them any size you like. The only thing you need to keep in mind is the larger the rosette the wider and longer the strip of paper needed but you can easily stick 2 strips together to get the length you need. I would do that after you have scored and folded them.
OK, to make your rosette you will need a strip of paper, a score board ( you could use a ruler to measure and then fold but it dose take a bit of patience to do that but it can be done ) and some wet glue.

First cut your strip of paper, this one is about 1 inch wide, place on your score board, I am using a Hougie Board on the cm side.

Score down each mark and then fold up as shown. Now if I wanted a larger rosette I would use a wider strip of paper and score and fold a second or even third strip and then stick them together.

Glue your folded strip into a circle using a wet glue as shown. I do mine so the pattern you want for the front is on the outside of the circle, you will see why in the next step. Then cut 2 circles of card or paper. These circles are the top and bottom of your rosette and give you a base to glue the rosette too. I have the larger one on the bottom and the small one on the top. You can use any scrap card for the bottom as it won't be seen but the top one needs to be from a coordinating paper or card as it will be seen.

Take your larger circle and put a generous amount of wet glue onto it and put it to the side but within reach. Then the bit that some people find a little tricky, take your rosette and using your fingers push gently out and down on the top of the circle. Your rosette will then fold down flat. While keeping your fingers on the flattened rosette bring your glue covered circle in and place glue side down onto the middle of your flattened rosette. If you let go it will spring back up again, if that happens just do the same as you did before to flatten it again. That is why you have the back on the inside of your circle. If you change your mind or forget that bit you can turn them over carefully but they can sometimes fight back!!
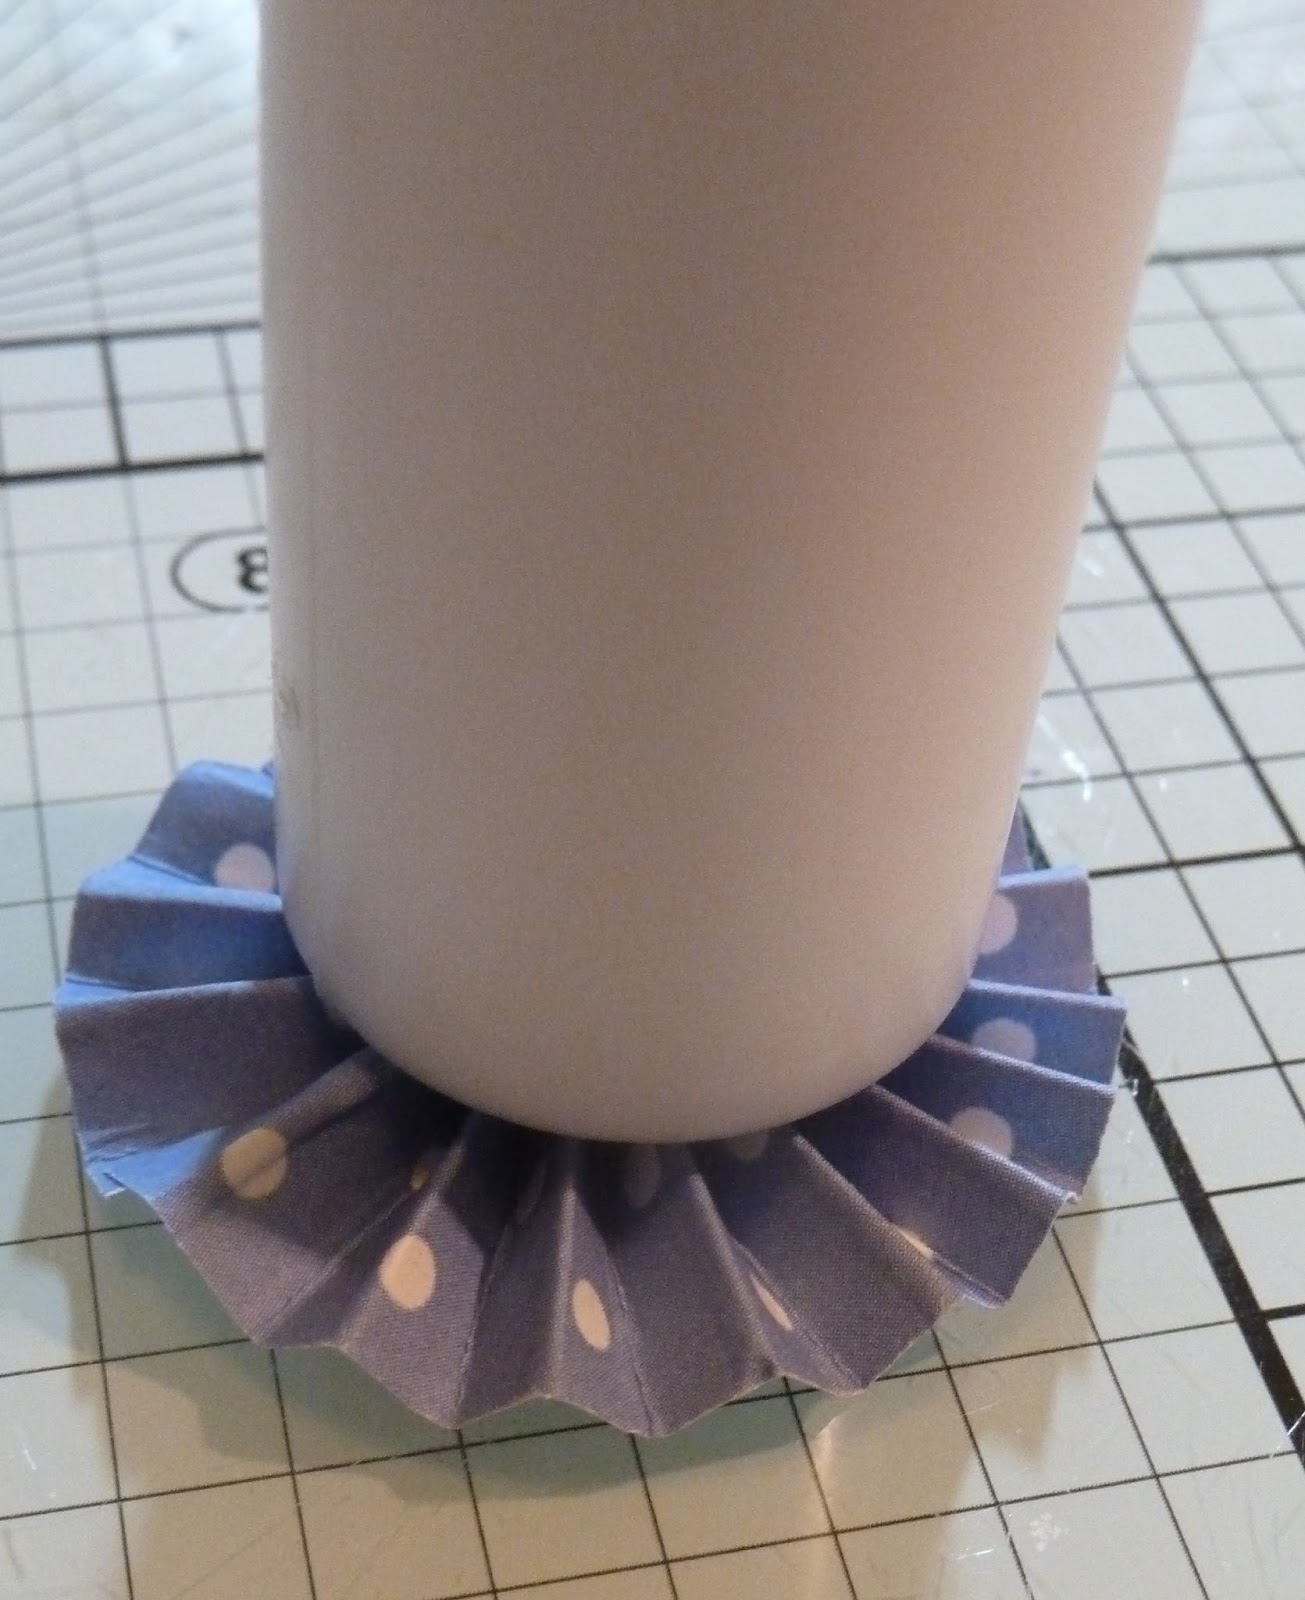
I then put something on top of the rosette immediately to hold the base in place for it to dry.

Once it has dried you can turn your rosette over and glue the other circle onto the top. I still put a small circle onto my rosette even if I am going to add a button or other decoration as it helps stabilise the finished rosette.
So that's how you make your rosettes, all I did to make up my card is make several rosettes in different sizes using the different papers in the pad, of course the are all double sided which gives you so many choices!

I used a couple of the papers as a background and then layered up the rosettes and added some buttons.

To finish off I also added some of the Candi that comes in the kit using tiny foam pads and one of the sentiments from another of the papers.
I was really pleased with this card, so bright and summery!
You can find the Craftwork cards Bohemian Dreams paper kit in The Fruit Pixie shop here -
http://www.thefruitpixie.co.uk/craftwork-cards-8-x-8-collection-pack-bohemian-dreams-25673-p.asp
A wonderful selection of buttons here -
http://www.thefruitpixie.co.uk/buttons-34-c.asp
3D foam that fit the Candi here -
http://www.thefruitpixie.co.uk/stix-2-3d-foam-pads-black-2045-p.asp
No comments:
Post a Comment